
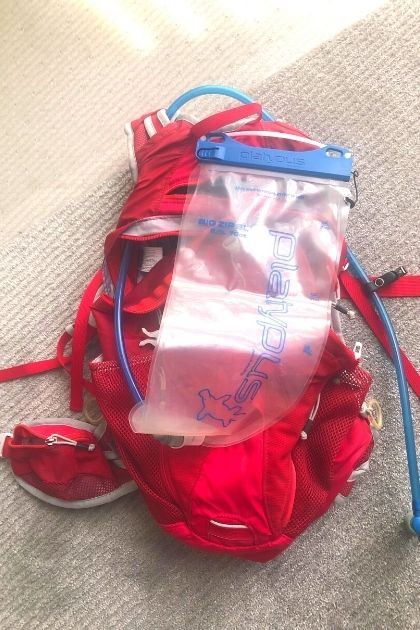
Have you ever gone on a hike or run and had your hydration bladder start to taste a little funky? If you just realized that they need to be cleaned or noticed mold in the tubes, then you might want to stop sipping now. But, don’t worry – you’re not the only one! In this blog post, I’m going to teach you how to clean your hydration system in just three easy steps.
Whether you own a Camelbak, Platypus, Osprey Hydraulics or other types of water bladders, they are probably one of the dirtiest pieces of gear you’ll carry on any backcountry trip. After a day or two of hiking, it starts to get smelly. If you’re anything like me, you’ll want to get that bladder clean as soon as you can!
What are Hydration Packs?
A hydration pack is a small, reusable water reservoir that you can carry on your back. Generally, there are two types: hydration packs and hydration waistpacks.
These packs, hold your water supply for the day, which you insert into a backpack, daypack, running, or waist pack and have a drinking tube that allows you to easily take sips of water while on the go. They usually have a polyethylene lining and comes in various reservoir capacity, depending on the amount of water you need to carry.
Is important to Clean a Hydration Bladder?
Well, yes. Mainly two big reasons:
1. To prevent bacteria growth: If you don’t clean your reservoir, it can become a breeding ground for creepy crawlies. Not only will this make your water taste bad, but it could also make you sick.
2. To keep your water tasting fresh: Even if you’re using filtered or treated water, storing a dirty reservoir is not good if you want so spend less time deep cleaning.
You might be using a Source Outdoor with an inline Sawyer Mini Water Filter, but that doesn’t mean you should neglect cleaning your pack.
How to Clean a Hydration Bladder
It’s really only 3 easy steps:
- Decide on which of the cleaning method you will use and collect your supplies.
- Dishwasher (easiest) If you have a hydration bladder that can be flipped inside out, such as the Hydrapak, then you can use a dishwasher.
- Cleaning Tablets (easier)
- DIY Cleanser Solution (easy)
- Empty water inside, add your fill it with either (1) DIY solution or (2) tablets + hot water. Make sure you are following cleaning solutions and soak it for a while.
- Scrub properly (if mold or residue remains) drain and then set it aside to completely dry.
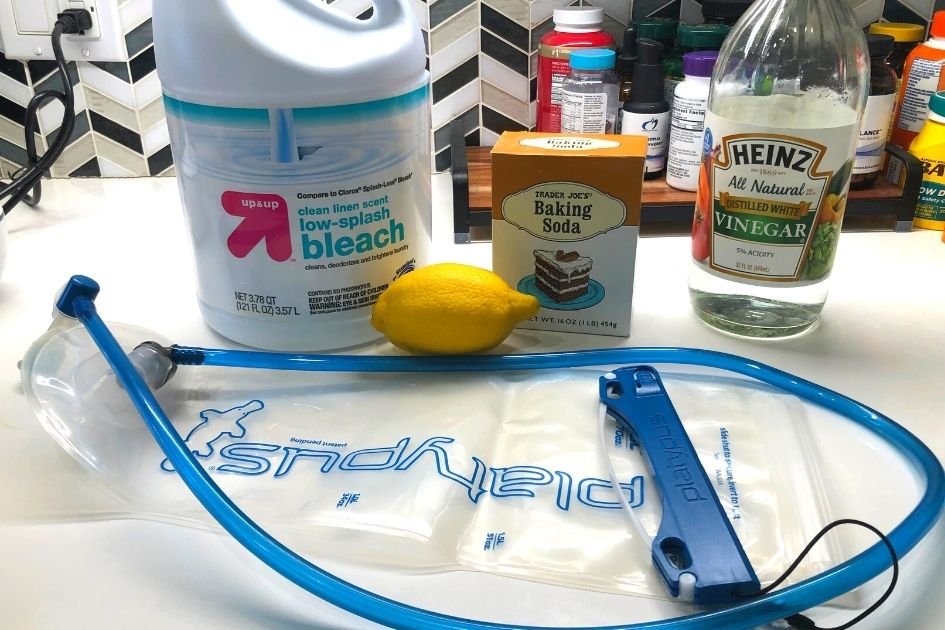
I will explain all these steps. But first, let’s look at the cleaning essentials you’ll need (if not using a dishwasher).
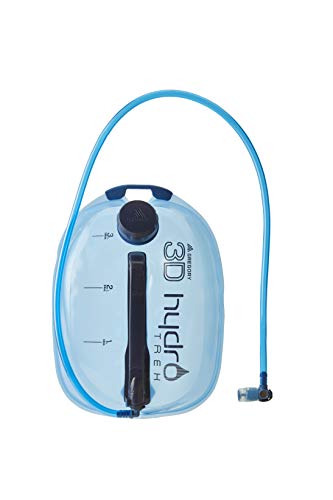 Gregory 3D Hydro Trek 3L Hydration Reservoir $24.99
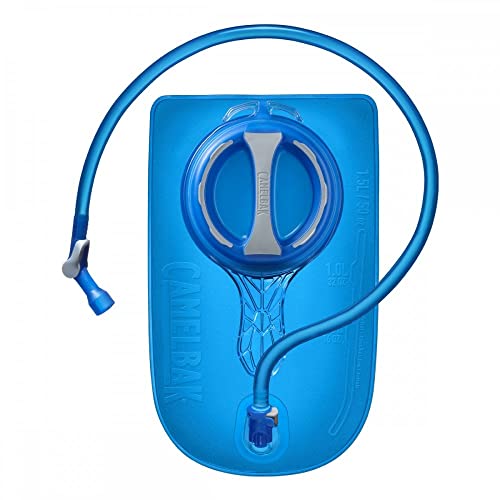 CamelBak Crux 1.5-Liter Water Reservoir, Hydration Bladder $28.99
 HydraPak Shape-Shift Low-Profile Water Bladder $36.46
Cleaning Essentials – What You Will Need
There are three types of equipment or material that you need:
- Cleaning solution (it may include DIY solutions or simply a blend of reservoir cleaning tablets with hot water).
- Hydration pack cleaning kits: It is not necessary, although it makes the process a lot easier. You can also use denture cleaning tablets or reservoir cleaning tablets.
- Drying aids: Last but not least, you need to properly dry it. You can use a plain old kitchen whisk, hydration bladder dryer, or Camelbak reservoir dryer.
Cleaning Solutions
There are a variety of solutions available in the market for disinfecting a water bladder. However, you will need warm soapy water to rinse out any reservoir residue
- Denture cleaning tablets: Denture cleaning tablets have been used as an inexpensive alternative to other tablet cleaners in hydration systems by some people.
- Reservoir cleaning tablets:
If the idea of making a cleaning solution out of your household items doesn’t tempt you, then you can easily remove deposits from your hydration system with these reservoir cleaning tablets. They are specifically formulated to do the job, so no measuring is necessary!
What’s more, these tablets are environmentally safe, require no scrubbing, and get rid of any bad smells or tastes. If you are lazy and don’t want to scrub your Camelbak, Osprey or Platypus, then this is the best method and zero hassle. All you need to do is add one or two tablets into warm water, and let it sit for 15-20 minutes.
 $8.99
$8.99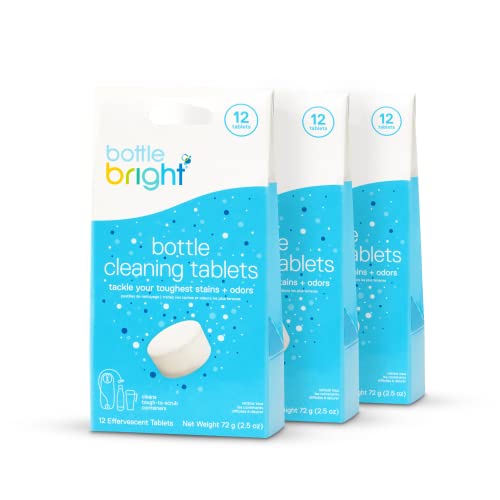 $22.00
DIY Solution Ingredients
Some bladders are best cleaned by hand, like Platypus, Camelbak, Gregory, and Osprey. IYou might also consider using natural cleansers like lemon juice or baking soda mixed into warm water if you want something less chemical-based on your preferences but still effective at getting rid of any bacteria build-up within it before storing away again after use
- *Dish Soap & Water:
You will need to make a mixture of warm soapy water to wash the reservoir if your making your own DIY solution. Add any or all of the items below. If using all them, adjust the amount of lemon juice, white vinegar, and baking soda.
- Baking soda mixture:
Experts hail baking soda as the best to disinfect. Combine ¼ cup of baking soda and enough hot water to fill 1/2 of the bladder. Baking soda will enhance the effectiveness of bleach. However, I recommend using this method if you are going to disinfect with homemade solutions.
- Household Bleach:
Can be used to kill bacteria and viruses. Use 2-5 drops of unscented household bleach per liter of water, or combine it with baking soda for a thorough clean.
- Lemon juice
You can use lemon juice to neutralize really strong odors. Platypus recommends using ¼ cup of lemon juice per liter of water, but you have to remember- point the opening away from you when combining with bleach or baking soda because a fizzy reaction will be produced by the mixture.
- White vinegar
3. Cleaning Kits
If you want to make your cleaning task more manageable, then get your hands on a hydration bladder cleaning kit. These are readily available in the market.
- Premade kit. You can find a universal kit like the Osprey Hydaulics Reservoir Cleaning Kit, which cleans all hydration reservoirs.
- Bottle Brush: If you have these brushes, it’s a plus because you can remove stubborn stains or mold with a stiff bristle easily.
- Scrubbing Pad: Use the already available scrubbing pad from your kitchen. They might not reach all the insides of the bladder, but they will be adequate to deep clean a large portion.
 Osprey Hydraulics Reservoir Cleaning Kit
 CamelBak Reservoir Dryer
Drying Aids
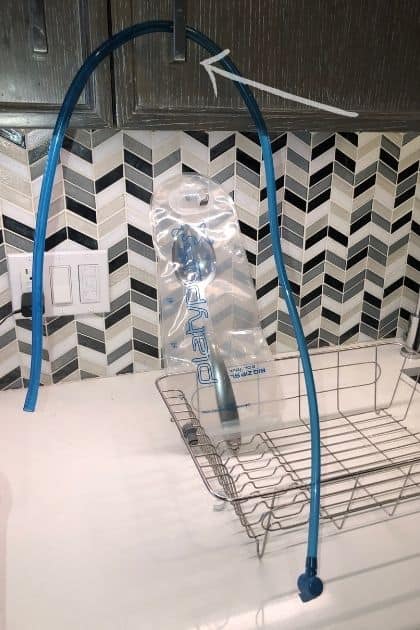
We would suggest removing the bite valve and hanging the tube vertically to empty and dry completely.
- Clothes Hanger: These will perfectly a bladder upside down.
- Large Binder Clips or clothespins.
- Cotton or Paper towels: Stuff inside to absorb moisture and any water inside.
- Reservoir dryer: Camelbak reservoir dryer, Kitchen whisk (put it inside of your reservoir to hold the bladder open), or Bladder Cleaning Kit may come with one
How to clean a Hydration Bladder in the Dishwasher
Easiest way to cleanse a hydration bladder
- Flip your hydration pack inside out and Lay flat or rest again the prongs on the upper rack. Don’t forget to add mouthpiece or any bite valve to the utensil bin.
- Add the liquid, tablet, powder
- Start. (It’s a good time to for clean off your other gear too.)
- Wipe and dry completely. Flip it back.
- Seal & place in freezer (prevents mold growth). Double protect it by placing it in sealable plastic bag. You can also store it in a non-humid (not your bathroom) dry place.
Washing and Scrubbing -Hydration System
Deep cleaning your bladder is a literal three-step process. Before you start, decide on the cleaning solution and gather all your supplies. First, add the cleaning solution (or scrub and wash if you’re not using tablets). Empty and rewash with dish soap and warm water. Rinse. Lastly, and most importantly, fully air-dry the bladder.
Step 1: Clean Your Hydration Bladder
Take the bladder out of the pack and drain any water. If you have water bottles that are dirty, this is a good time to clean them too.
Using Hydration Reservoir Cleaning Tablets:
- Remove any parts and place into small bowl. Add a tablet, hot water, and soak all the reservoir parts (bite valve, mouthpiece, caps, etc) into the solution.
- Add both hot water and 1-2 tablets into the reservoir.
- Lift the bladder above your head, letting the tube drape into the sink, and then pinch off the tube with the binder clips or clothespin. (hang the bladder onto cabinet knob or handle so don’t have to hold it)
- Follow recommended time and let them sit.
Using a DIY Cleaning Solution:
- Remove any parts (bite valve, drinking valve, caps, parts) and place into a small bowl.
- Fill both the bladder and bowl with your solution.
- Hold the tube up over your head and let the mixture run through it, then squeeze the tube’s ends with binder clips/ clothespin. Soak for 30 minutes will allow time for any impurities to settle down at the bottom of your reservoir.
- (hang the bladder onto cabinet knob or handle so don’t have to hold it)
- Scrub the bladder interior, drinking valve, bite valve, and using the brushes, until all visible mold is gone.
Step 2: Rinse
- Run hot soapy water through the bladder and tube, rinsing out any mildew.
- If it’s still grubby, repeat all steps above until your bladder is squeaky clean. If you used your dishwasher, store the bladder upside down so water can drain.
Step 3: Dry it Out
The most crucial part is to drain and air dry your hydration bladder thoroughly. More importantly, your bladder needs to be completely dry before you can store it. That means no water should be sticking to the bladder walls.
- Disassemble all pieces, including tube, reservoir, and bite valve.
- Fill it with paper towels to absorb all moisture.
- Place your reservoir on its hanger, or stand it upright and insert the whisk or drying aid.
- Hang your tube or hose so there are no kinks and water can flow down.
- Set aside the bite valve
- Finally, seal and store your hydration system. Dry completely before you seal, otherwise, you will end up with mold everywhere, in the hose.
Storage & Maintenance
If you live in a humid place where the chances of mold growth are higher, try using the freezing method. Empty and dry your bladder after every use and put it inside your freezer.
Tempting as it may be, don’t use your bathroom as storage. Find a dry,
FAQs
How often should I clean my hydration pack?
The simple answer, is yes, after every trip. Maintenance will prevent mold, any bad taste, and less time spent cleaning. This is not only sufficient but also a proactive approach.
How to remove the plastic taste from the water bladder?
Mix a few tablespoons of baking soda, add some lemon juice and fill the bladder with warm water. It should bubble. Next, allow it to soak for 30 minutes or overnight. Certainly, make sure to rinse thoroughly afterward.
How Long is Water Safe to drink- Are You Drinking Germs and Bacteria?
Water bottles that go unwashed for a week contain 300,000 bacterial cells per square centimeter, according to studies. That’s more germs than in a dog’s drinking bowl, according to a recent story in USA Today. Basically, water left in your hydration reservoir will have mold growth and become a breeding ground for bacteria, before your next adventure.
If you do drink water left over from your last hike, pathogens from ingesting that water can cause diarrhea and dehydration. If you were debating whether to binge-watch a Netflix show or start the cleaning process, you have your answer.
Conclusion
That’s all there is to it! Be sure to collect all of your supplies before beginning. Now that you know how to clean a hydration bladder in 3 easy steps, you can be sure your drinking system will stay mildew and mold-free for all your outdoor adventures.
Be sure to give your bladders a good rinse after cleaning to get rid of any leftover solution or debris. And finally, store your bladders in a cool, dry place when not in use. Do you have any questions about this process? Do you have a better way? Let us know in the comments below.
Shop Hydration Bladders/ Reservoirs
 Osprey Hydraulics Water Reservoir / Hydration Bladde $37.00
 Hydrapak Force Ultra-Durable Water Bladder/Reservoir for Hydration Backpacks, 2-Liter $42.00
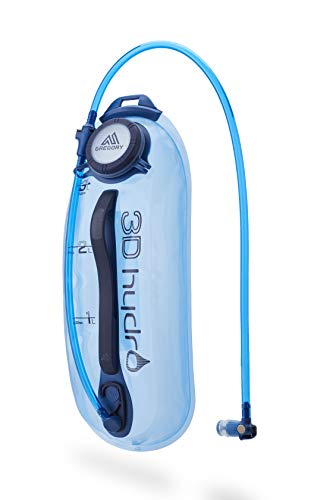 Gregory Mountain Products 3D Hydro Reservoir $40.00
Shop Hydration Reservoir Cleaning Kits
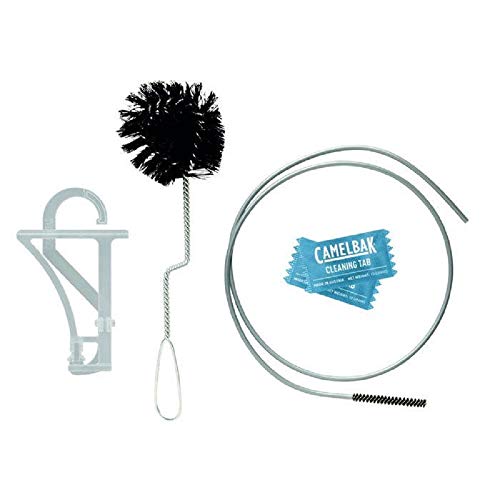
 Gregory Mountain Products Reservoir Cleaning Kit
$20.37
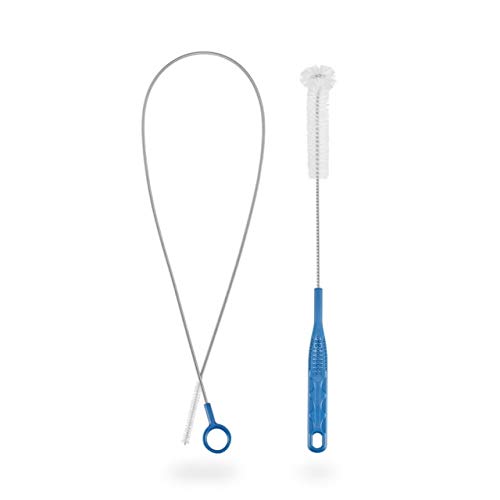
 CamelBak Crux Cleaning Kit
$21.99
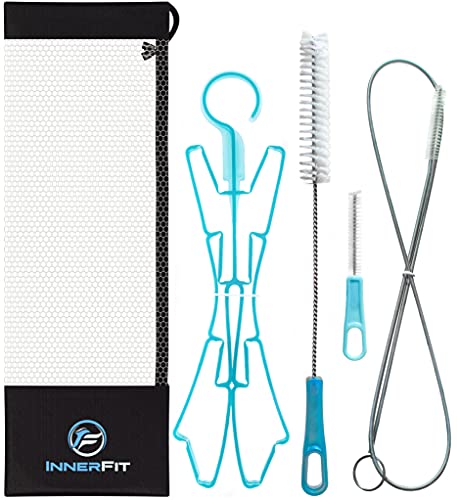 InnerFit Hydration Bladder Cleaning Kit – 5 in 1 $10.97
Need More Advice on Gear and Footwear?
Here are some links to our most popular articles:
- Best Hydration Bladders for Hiking and Backpacking
- Best Backpacking Packs: Fitting, Features, and Recommendations
- Guide to Best Lightweight Backpacking Quilts
- Best Sleeping Pads for Backpacking for a Comfortable Night
- How to Care for Leather Hiking Boots so They Last
- Best Lightweight Tents for Backpacking
- What to Look For in a Women’s Lightweight Hiking Jacket
- 11 Best Ultralight Sleeping Bags under 2.0 pounds
- Best Water Enhancers
- 10 Mountaineering Packs for Every Budget
- Tongariro Alpine Crossing: New Zealand’s Best Day Hike
Join our Facebook Group – Outdoor Gear Reviews, Deals, Hacks & Advice- Backpacking, Hiking & Camping to get the latest reviews, deals, and discounts on backpacking, camping, and hiking gear. Share tips, and advice and to show our love, we also give monthly gear giveaways.


Last update on 2022-12-23 / Affiliate links / Images from Amazon Product Advertising API